Showing posts with label easy dinner. Show all posts

Tuesday, February 21, 2017

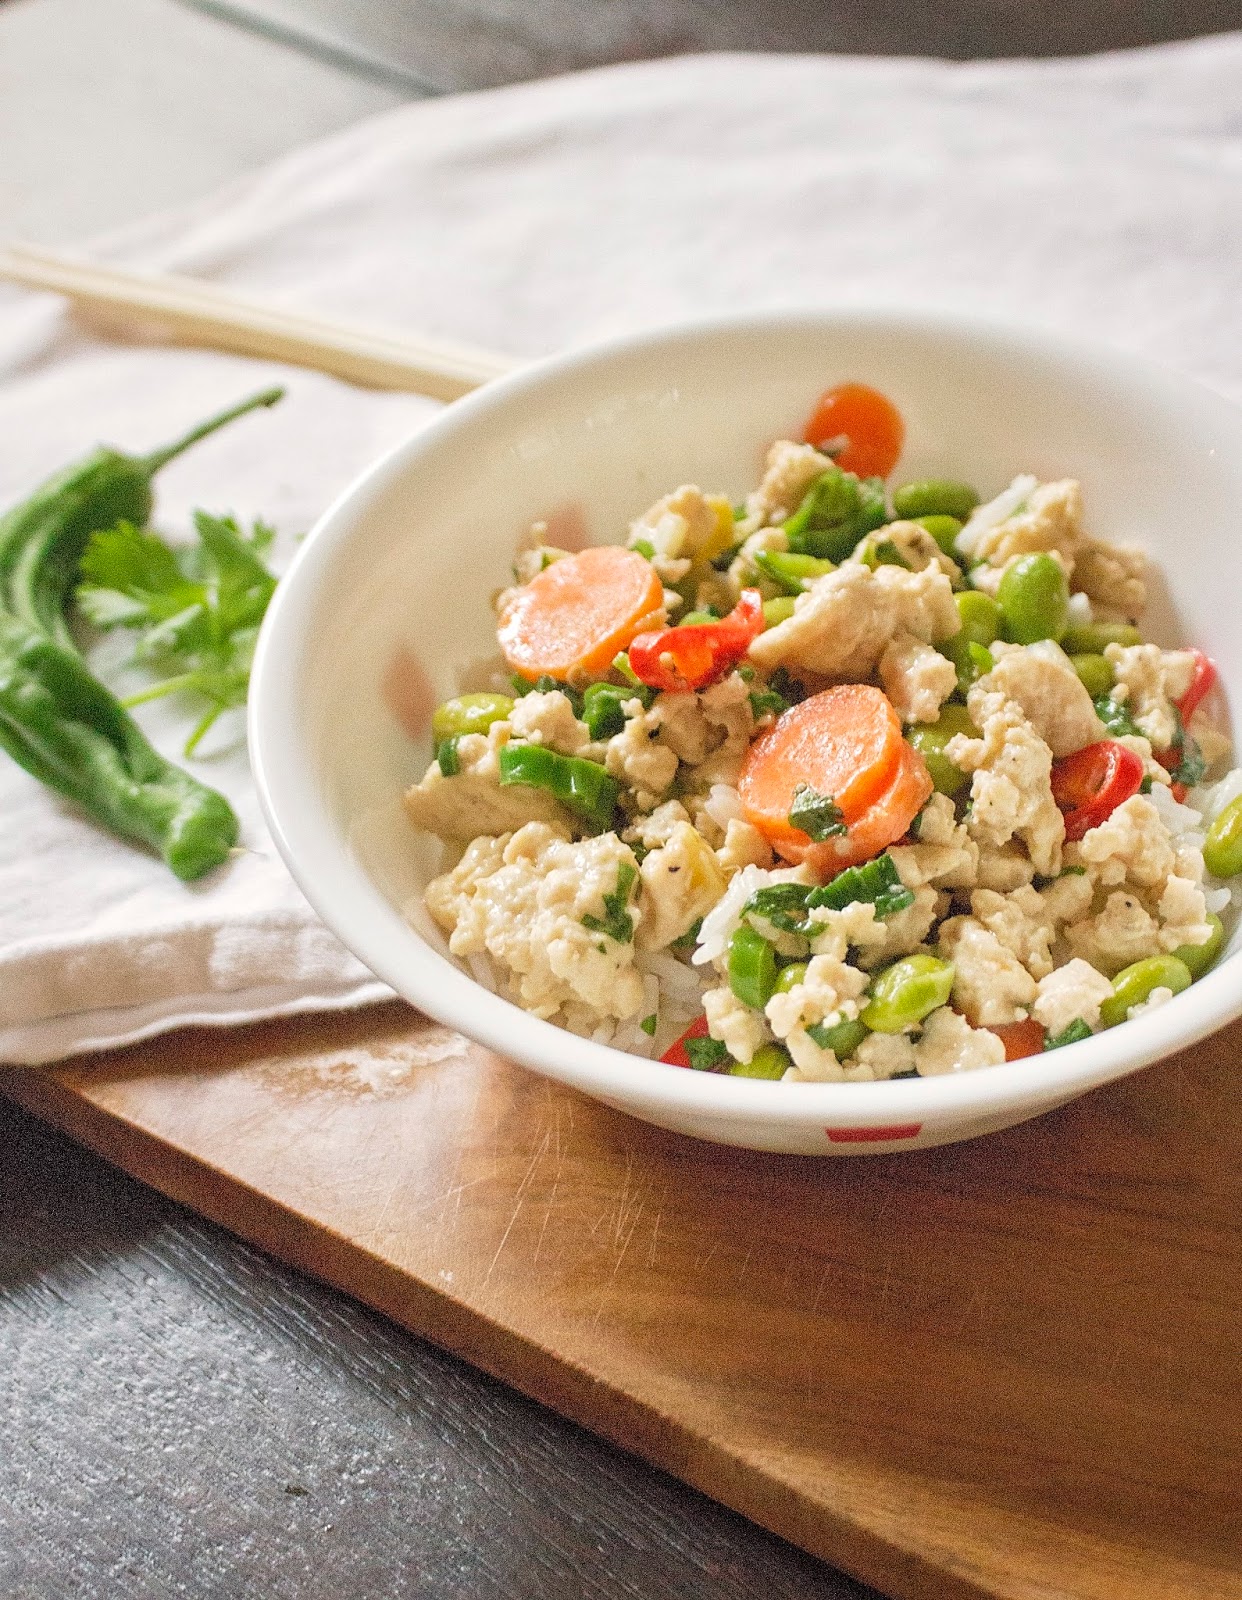
Thai Coconut Stir Fry

 The key to any stir fry is the balance between sweet, sour, and spice. This Thai Coconut Stir Fry is slightly sweet from the coconut milk with a heat that builds as you eat it. For a pop of color, I use red Fresno peppers but if you like your Thai food extra spicy, use the extremely spicy Thai Bird's Eye chiles.

In our house, we like to do a stir fry at the end of the week when there are some left over fresh vegetables in the crisper that we can't figure out what to do with. Only use fresh veggies, the frozen stir fry mixes usually result in a mushy end product and the excess water in them dilute your sauce.  Another great quick tip is to use ground chicken or pork because it cooks much faster than sliced or diced meat.

The secret to having full flavored stir fry is not to drown it in sauce, start with aromatics and chilies and let that become the base of your sauce. 


Thai Coconut Stir Fry
Ingredients:
1 Tbs. canola oil or grapeseed oil
1 inch piece ginger, peeled and diced
1 clove garlic, minced
1 Fresno chili pepper (optional Thai bird's eye chili pepper for extra spice)
1 -2 pounds ground chicken or pork
salt and pepper, to taste
1 large carrot, thinly sliced
1 cup frozen edamame peas
1 Tbs tamarind paste (or juice of one lime and 1 Tbs. dark brown sugar)
1 cup organic coconut milk
! Tbs. cilantro leaves, chopped
2 green onions, thinkly sliced
Jasmine rice for serving

Directions:
In a large wok over high heat, heat the oil until it shimmers. Carefully add in the ginger, garlic and chilies and cook for 1-2 minutes. Generously season the ground chicken or pork with salt and pepper and add it to the wok, breaking up the meat into bite-sized pieces with a wooden spoon. Once the meat is almost cooked through, add in the vegetables, cooking for another minute or two until slightly softened.

Stir in the tamarind paste and coconut milk. (If using green vegetables such as broccoli or asparagus, add them in when adding the coconut milk so they do not over cook.) Turn the heat to medium and let simmer for 2-3 minutes. Remove from heat and stir in the green onion and cilantro. Serve over rice.

Thursday, February 16, 2017

How to Make a Grain Bowl Without a Recipe


Grain bowls are very popular right now for good reason, they are super healthy and satisfying. I can make a giant bowl of a mixture proteins, vegetables and greens, top it with avocado and  I can feel good about what I ate. Our family typically makes grain bowls at the end of the week when there are a few left over containers of "odds and ends" that can't feed us all. All that is required is making the grains. I like to use at least 2 types of protein-rich grains for variety. My go-to is quinoa and green lentils. If you have canned beans such as garbanzo beans or cannelini beans, that works great too.

The beauty of the grain bowl is that you use what you have on hand and it helps stretch your grocery budget by using cheap proteins and not letting that extra serving of left over roasted veggies go to waste in the fridge. Here is a great roasted root veggie dish that my family loves.

I encourage you to try adding a grain bowl to your weekly dinner (or lunch) rotation. Because the items added to these grain bowls are very healthy and low in fat, you can "stuff your face" as my kids say and feel good about it too.

How to Build Your Grain Bowl:
Start with your base grains (pick at least 2) - some options are lentils, quinoa, garbanzo beans, cannellini beans, black beans, millet, or amaranth.

Pick a Protein - left overs are great here - grilled chicken, steak, rotisserie chicken, grilled shrimp, or seared tofu.

Add your veggies - anything roasted adds tons of flavor, sauted greens, roasted broccoli, asparagus, roasted sweet potatoes.  Try to add different colored vegetable and textures to add variety.

Add your toppings - Textures are key here - sliced avocado for creaminess, a lemony salad dressing, pumpkin seeds, toasted nuts, or toasted quinoa for crunch.


Monday, January 23, 2017

10 Minute Seared Ahi Tuna


Need a quick and delicious fish recipe? This Seared Ahi Tuna delivers on both. Crusted with sesame seeds and served with a wasabi lime sauce, it can't get much easier and better than that. My husband gets complete credit for this Seared Ahi Tuna. He came up with the fish recipe and I added a dipping sauce to accompany it.

Before you prep the fish, make sure everything else for the meal is finished, the sides and the dipping sauce. I am typically in charge of making the sides and dipping sauce while my husband makes the fish. Cooking is much more fun when you have a teammate in the kitchen.

Sesame Crusted Seared Ahi Tuna

Ingredients:
1 pound Ahi Tuna steak, cut into 4 ounce portions
3 Tbs. raw sesame seeds, white or black
salt and pepper, to taste
1 tsp. sesame oil
For the Sauce:
1 lime, zest and juiced
1 Tbs. Tamari or soy sauce
1 inch piece ginger, peeled and finely grated
1 tsp. wasabi paste, or more to taste

Directions:
Place all of the ingredients for the sauce in a small bowl and mix well. Transfer to a serving dish.

Preheat a non-stick skillet over medium high heat until very hot. Salt and pepper the tuna steaks. Place sesame seeds in a shallow dish or bowl and dip each side of the tuna portions into the sesame seeds. Press slightly to make sure the seeds stick. Pour sesame oil into hot skillet and immediately place fish in skillet to sear. Sear each side of the tuna for 2 minutes for rare and 3 minutes on each side for a medium rare tuna steak. Remove fish from skillet and place on a cutting board. Slice tuna into 1/2 inch slices and serve immediately with dipping sauce.

Monday, January 9, 2017

The Perfect Roasted Chicken

In our family we eat lots of chicken and it can be difficult to come up with new and creative ways to prepare it. My recipe for the Perfect Roasted Chicken is a staple in our household. The secret is the spice rub that gets massaged into the chicken skin so every bit of it comes out crispy and delicious. There is usually fighting over the wings at the dinner table which gave me an idea to make baked chicken wings with the same spice rub. They were so good we ate all 5 dozen wings and my little picky 3 year old ate 8 on her own.

To make this meal even easier, while the chicken is roasting in the oven, throw some Brussels sprouts tossed in reserved bacon fat (or diced pieces of raw bacon) on a sheet pan and roast for 30-40 minutes.

This is also a great meal for when I have to cart the kids around to after school activities. I can prep the chicken and put it into the preheated oven, set the cooking time (which automatically shuts off the oven when the time is up), and when I arrive home after ballet, piano, or soccer practice I have dinner ready and waiting for me in the oven.

A little trick I learned when trying to make the perfect roasted chicken with the crispiest skin is the chicken needs to be elevated. I used to bake my chicken in a glass or ceramic baking dish which would give me great results for the top half of the bird and then the bottom half, the thighs and wings, would come out of the oven with soggy skin because it was sitting in all of juices that rendered from the cooking bird. No one would want to eat the thighs or wings and we would end up wasting it or some poor person (usually the baby) would have to eat it the next day for left overs.

To prepare your pan for the chicken, cover a rimmed baking sheet with aluminum foil or parchment paper and place a wire cooling rack (the kind you use for cooling cookies) on top of the foil. If you have a fancy roasting dish with a rack insert that will work just as well, but this is my hacked version. The foil helps with clean-up because I have yet to meet someone who enjoys doing the dishes, except maybe my mother. Here's what the prepped pan should look like:

Next, prepare your spice rub and cut a long piece of kitchen twine to tie up the bird. Once you've got everything ready to go, clean your chicken really well. I like to remove any excess fat from the cavity or tail end of the chicken. Then, taking a coarse salt like kosher salt, sprinkle a few handfuls all over the chicken and massage. The salt scrub will help to remove any impurities.

Place the chicken on the rack in the pan and dry with paper towels, inside and out. Starting with the back of the chicken (the side with the thighs) rub the spice rub mixture all over the bird. Flip the bird over, breast side up, and continue rubbing the spice mixture coating the entire chicken. With the last few teaspoons of spice rub, coat the inside of the bird. Now it's time to tress the chicken with your twine. Place the middle of the string under the neck and wing portion of the chicken, bring the string up over the top of the chicken creating an X. The X should then be pulled down toward the bottom point of the breast where the chest cavity opens up. Next, take the legs and place them on top of the X of the string and cross one leg bone over the other, creating an X with the bare ends of the leg bones. Wrap each end of the string around the leg bones, pull tight, and tie a square knot on top.
The chicken is ready to go into the oven. Roast in a preheated 425 degrees oven for 1 hour and 15 minutes, for a 4-5 pound chicken. For every extra pound, add 15-20 minutes more cooking time. 

The Perfect Roasted Chicken
Ingredients:
4-5 pound whole chicken 
1 tsp. sea salt
1/2 tsp. ground black pepper
1/2 tsp. garlic powder
1 tsp. dried oregano
1 Tbs. Spanish smoked sweet paprika (not regular paprika, it won't taste the same) 
A pinch cayenne pepper
2 Tbs. olive oil
Kitchen twine

Directions:
Preheat oven to 425 degrees.

In a small bowl, mix spices and olive oil to form a loose paste. Clean chicken, pat dry and rub spice mixture all over the skin and inside the cavity of the chicken. Place chicken on an elevated wire rack inside a rimmed baking sheet.

Bake for 1 hour and 15 minutes for a 4-5 pound chicken. Add 15-20 minutes of cooking time for each additional pound. Remove chicken from over and rest 15-20 minutes before serving.